GarageBand allows the users to record audio and create songs with a few simple steps. Recording audio in GarageBand is easy, and can be done with just a few clicks.
GarageBand also offers a variety of recording options, including using the microphone on your Mac or iPhone, using external audio devices, and even using the built-in voice recorder.
These tools can help you capture audio of any type, including recordings of vocals, acoustic guitar, or any other instrument.
Additionally, GarageBand offers a variety of recording options, such as time-lapse recording and recording with loops. With these tools and options, you can create professional-quality recordings in minutes.
How to record on GarageBand?
First, open GarageBand on your Mac or PC. Then, click the “File” menu and select “New” to create a new song. Click the “Audio” tab and select “Microphone.” After that, click the “Record” button to start recording.
Use the controls in the toolbar to adjust the recording settings, such as the microphone sensitivity and recording quality. When you’re finished recording, click the “Stop” button to stop the recording process.
You can also use the “File” menu to export your recordings as MP3, AAC, or WAV files. This will allow you to easily share your recordings with others. If you’d like to export your recordings as a soundtrack for a video, you can use GarageBand’s “Movie” feature to create a movie file.
How to record sound to an audio track?
If you’re recording an audio track, click the title of the track you want to listen to. Move your playhead over the track and to its beginning by clicking the Record button.
Set up a metronome or count-in to ensure that you hear a consistent beat while you record. In GarageBand on Mac, simply select the track you want to record, and then press the “Record” button.
Start recording audio by singing, or by picking an instrument. You will be able to add new sounds to the music as you sing or play an instrument or as if you created a new section in your own track.
If you hear a certain sound that you are unhappy with, simply select the audio track you wish to record. Then, by clicking the Pause button on the control bar (or pressing the Spacebar), it will stop playing.

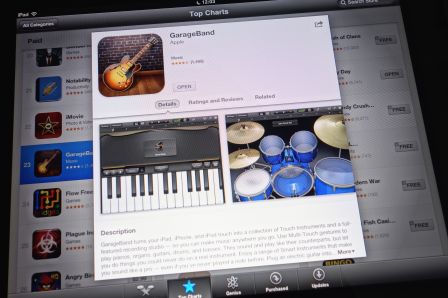
Use beats, loops and instruments from the best free music making software
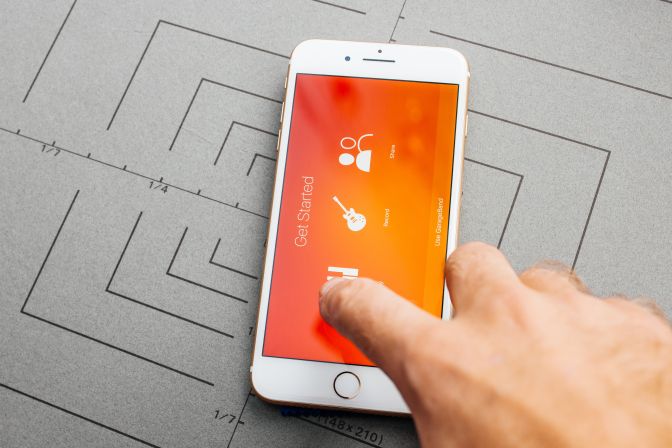
Get Started With GarageBandHow to play and record GarageBand instruments?
Add / edit a track to the Media Studio by placing a red + sign in the top-right corner of the tracks panel, then select Software Instrument as the track type. Click on Add to add a new track and a panel of MIDI instruments will then be displayed for you to select from and play.
You can either play an on-screen keyboard by clicking on the arrow buttons on your computer or you can play an MIDI keyboard like an iRig keyboard through the Media Studio.
When you decide which track to go to, click on the title of the song that will appear on the tracks panel and then either click on the red circle or press R on your keyboard to start the audio.
Click and hold the stop/play button to stop recording.
How to record multiple takes of a song?
If you want to record multiple takes of a song, you can use the “File” menu to create a new track. Then, you can use the “Track” menu to add multiple tracks and start recording.
You can also use the “Undo” and “Redo” buttons to make changes to your recordings. To take multiple records of a single track, you can use the “Tracks” menu and select “Split Track.”
This will create a new track for each take, and will allow you to easily merge the recordings together later on. The split track feature is also useful if you want to record multiple instruments in the same track.
For example, you can use the “Tracks” menu to add a track for each instrument, and then start recording. You can then use the “Mixer” tab to mix the tracks together.
What are the best recording tools for GarageBand?
There are a variety of recording tools available in GarageBand, and it’s up to you to decide which ones are best for your needs. Some of the most popular recording options include using the microphone on your Mac or iPhone, using external audio devices, and using the built-in voice recorder.
GarageBand also offers many recording features, such as time-lapse recording that can be used to create videos, and recording with loops that can be used to create songs with a repetitive structure.
With these tools and options, you can create professional-quality recordings in minutes. The recordings that you make in GarageBand can be used for a variety of purposes, such as creating music for your own projects or for use in your videos.
GarageBand will also allow you to share your recordings with others, so you can get feedback on your recordings.
How does GarageBand handle audio recordings?
GarageBand handles audio recordings by using the default audio settings for your Mac or PC. This means that your recordings will be in the same format as the audio that is playing in the background of your computer.
If you want to export your recordings as a soundtrack for a video, you will need to use GarageBand’s “Movie” feature. This will allow you to create a movie file that includes the audio and video recordings together.
Will the recordings that I make in GarageBand be private?
The recordings that you make in GarageBand are private by default. This means that the recordings will not be visible to other users on your computer. You can change this setting if you want, by opening the “File” menu and selecting “Preferences.”
From here, you can select the “General” tab and change the setting to “Share Your Tracks.” You can share your recordings with others by using the “File” menu and selecting “Share.”
This will open a window that allows you to share your recordings online or with other users on your computer. You can also share your recordings using third-party tools, such as iCloud orDropBox.
If you’d like to share your recordings with others who don’t have a Mac or PC, you can use GarageBand’s “Export” feature to export your recordings as MP3, AAC, or WAV files. These files can then be shared using any tool that supports these file formats.

ced
Use beats, loops and instruments from the best free music making software
Get Started With GarageBand