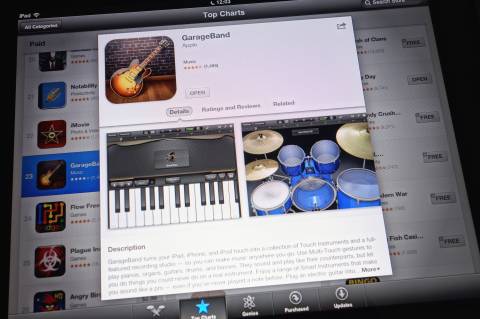
GarageBand is a digital audio workstation (DAW) program developed by Apple. It is used to record, edit, and mix music. The program allows users to make high-quality recordings with ease. The program comes with a large number of plug-ins and effects that can be used to add effects to the recorded sound. These effects include filters, equalizers, reverbs, delays, pitch changes, and distortion.
The software offers an easy and user-friendly interface. The software is compatible with all music-creation tools: for recording, mastering, editing, mixing, and sequencing. It is easy to create a GarageBand song. It is possible for you to start recording your own songs, or you can record them from your own microphone or from other audio sources. These are the steps to create a song using GarageBand. First, open GarageBand and put the file on it for the first time. Click on File > New > Song and choose the song that you would like. Enter a name for the song that you will be producing. Then select the option “import from” that shows on the menu.
GarageBand is Apple’s entry-level music making application. This software allows you to create your own songs using an easy-to-use interface. If you are a novice at making music, this software is for you.

Let’s take a look at some possible solutions for your problems:
When the GarageBand window opens, the track header for each guitar track will display 15. They include clean sounding tracks like brit and clean and amazing tweed, and tracks that have loads of effects and overdriven amplifiers like modern stack and maelstrom.
Brit and clean are the defaults. When you play your guitar, you should see the meter on the track that reacts. You can hear everything you’re playing by clicking on the orange input monitoring button inside the track header. Your guitar plays the sound of that song through the recording, and through the amplifier and effects. Then it will play through the output device that you’ve selected. Select another track and enable the input monitoring button to hear that track’s sound.
If the meter does not read anything and the volume knob on your guitar is turned up, go to GarageBand > preferences > audio/midi, and make sure that the output device and input device pop-up menus are configured properly.
So now that you have the sound in GarageBand, select clean again, and then click on the tuner button in the control bar. It should look like a tuning fork. Then you will be presented with a window containing a tuner. Then you should luck out a string, and the meter will tell you how close you are to the correct pitch. Adjust the strings of the guitar until they are all reading in the green. Finish the session by fine tuning using your ears.
If it is not possible for the guitar to work, you may try changing the track input channel that you are using in the track info window.
Hit Command + I to get to the info window for your track. Then you will see a dropdown menu for input sources. Select the line input box and from the dropdown menu select your line.
ced

Use beats, loops and instruments from the best free music making software
Get Started With GarageBand